I know this is not recipe, but believe me there are many people who would like to have atleast a starting point in making a Chapati dough.
My father makes really good chapati's. Everyone likes his chapati and my husband felt that i would also be knowing to make it (kind of hereditary ;-) ). Well to tell the truth i didnt know to make chapati's.
Well after some time, now i can proudly say i have finally found the way to make soft chapati's. Still not the same like my dad does but still its good enough.
Also i am not a fan of adding oil to this dough. And i am able to make good chapati's or Poori's with this dough so i dont feel that you need to add oil for that.
Makes 10 medium sized chapati's
 Ingredients
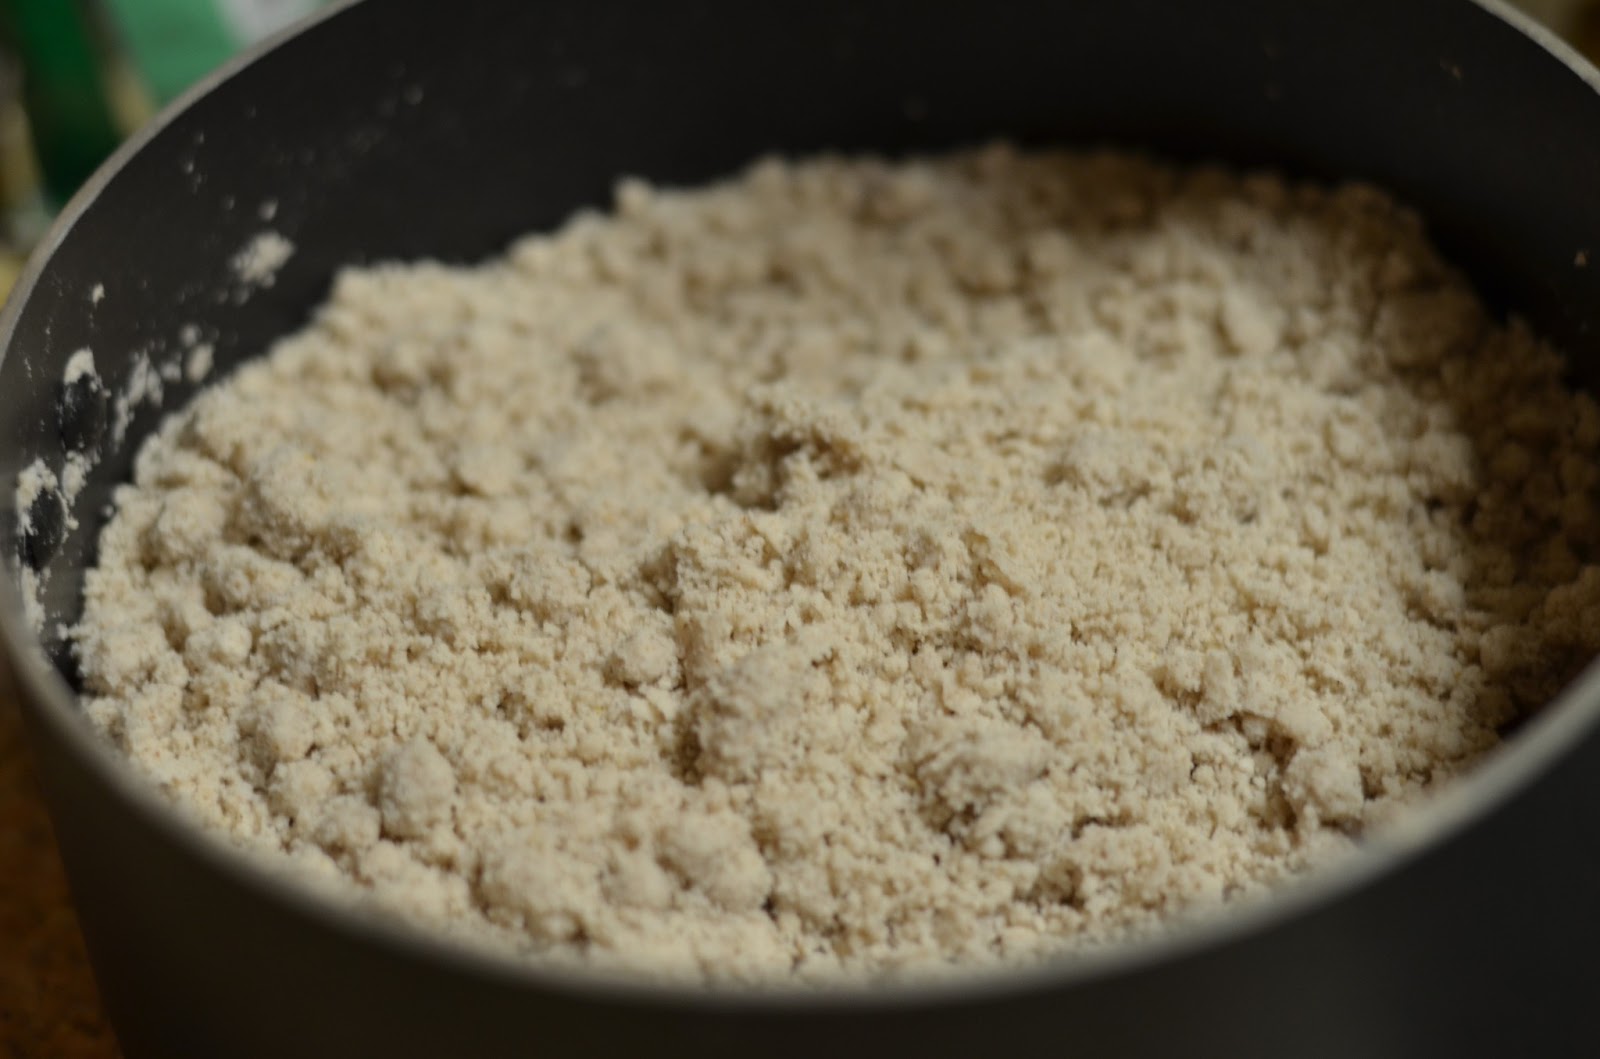
Atta - 2 cups
Salt - 3/4 tsp
Water - 1 cup
Mix the atta and the salt well.
Add the water sowly and keep mixing the atta/water mixture. By the time you add the whole water, it will be a bit hard to mix.
Keep mixing it till you can form a get a consistency of not too soft nor too hard.
Note: You can add few tbspns of water if you feel its too hard
You can add few tbspns of flour if you feel its too soft
It takes me from 15-20 mins to get the proper dough.
This is just a starting point, i sometimes end up adding few tbspns of water or flour to get the correct consistency.
Hope this helps you to get started
Happy Kneading!!!!
My father makes really good chapati's. Everyone likes his chapati and my husband felt that i would also be knowing to make it (kind of hereditary ;-) ). Well to tell the truth i didnt know to make chapati's.
Well after some time, now i can proudly say i have finally found the way to make soft chapati's. Still not the same like my dad does but still its good enough.
Also i am not a fan of adding oil to this dough. And i am able to make good chapati's or Poori's with this dough so i dont feel that you need to add oil for that.
Makes 10 medium sized chapati's

Atta - 2 cups
Salt - 3/4 tsp
Water - 1 cup
Mix the atta and the salt well.
Add the water sowly and keep mixing the atta/water mixture. By the time you add the whole water, it will be a bit hard to mix.
Keep mixing it till you can form a get a consistency of not too soft nor too hard.
Note: You can add few tbspns of water if you feel its too hard
You can add few tbspns of flour if you feel its too soft
It takes me from 15-20 mins to get the proper dough.
This is just a starting point, i sometimes end up adding few tbspns of water or flour to get the correct consistency.
Hope this helps you to get started
Happy Kneading!!!!